Wednesday, December 7, 2011

Chestnuts roasting on an open fire...

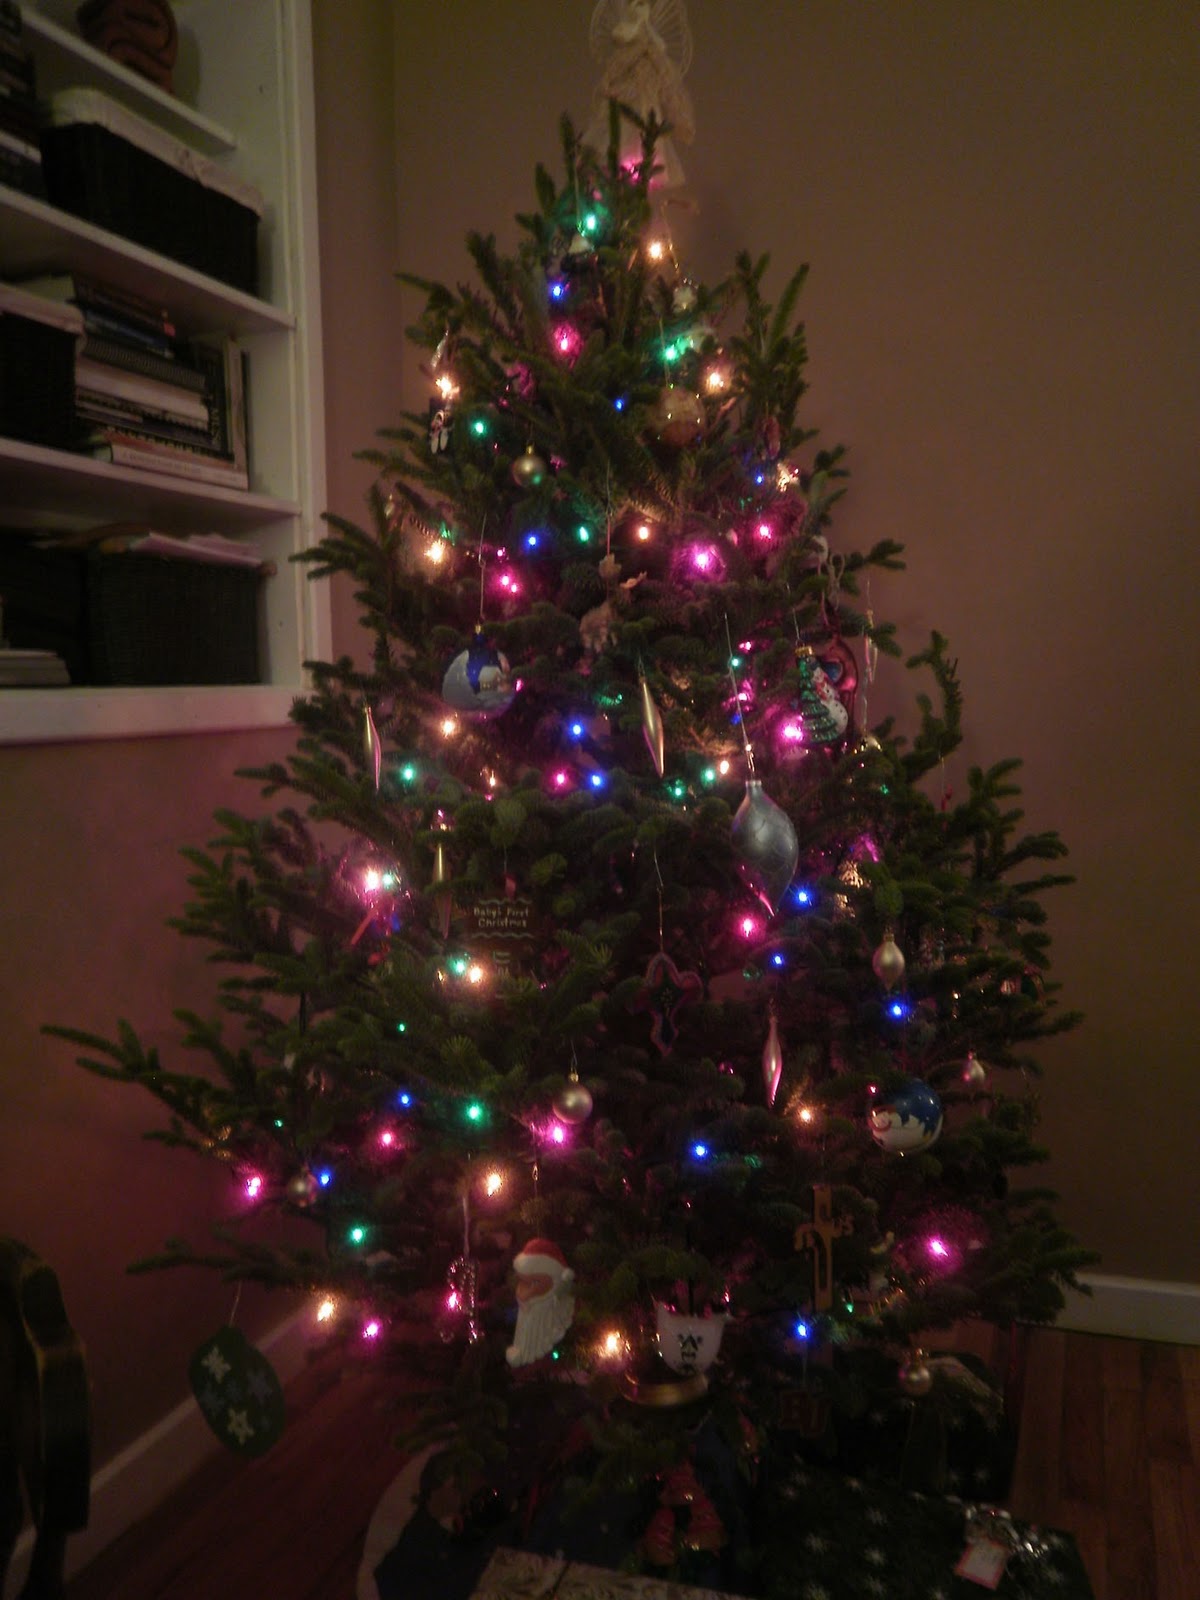
Ok, we didn't roast chestnuts, but we did have some fish chowder that Sean made, cheap wine, and some hot chocolate while we decorated our apartment for Christmas. We watched The Polar Express while we ate dinner. (Which was one of my very favorite books growing up.) I'm so glad we happened upon it last night... it really got us in the Christmas mood! After dinner, I made hot chocolate while Sean put on the lights, and we popped in Love Actually and started putting ornaments on the tree!

Love Actually + $6 Walgreens wine = perfect xmas atmosphere
Decorations!
Seany putting up the lights
Mmmmm, hot chocolate with real whipped cream

The final flourish!
I even had some presents wrapped to put under the tree!
Awkward Family Photos? ;)
Hope everyone is enjoying the holiday season! What are some of your favorite tree decorating traditions?

Monday, December 5, 2011

The Adventures of Seany and Leeny

Sorry about the radio silence happening on the blog. Sean and I have been doing lots of traveling over the last few weekends and we are finally feeling like we can catch our breaths! I thought I'd just post a little roundup of what's been keeping us so busy!

For the second weekend in November, we headed up to Cleveland to celebrate Emily (Sean's cousin) and Scott's wedding on Veteran's Day:
At their lovely wedding, Emily and Scott honored
all the Veterans who were close to them
The weekend was a blur of setting up for the wedding and all the family events that come along with wedding celebrations. We had a great time seeing the Cleveland crowd (it had been a while) and some members of the family that I had never met yet!

The following weekend, Sean and I packed up again and headed for Charlotte on Sean's birthday (Nov. 18). His little sister Allie was getting Confirmed the next morning and Sean was her sponsor.

Allie and Sean with the retired Bishop of Charlotte
Aww how cute
We spent the whole following week in Charlotte with Sean's family to celebrate Thanksgiving. The weather was just gorgeous... in the 60s and sunny all week. We even made the last-minute decision to enjoy our Thanksgiving feast out on the deck! Yes, be jealous...

Mmmm... Thanksgiving feast in the beautiful weather!
For Black Friday, there was no mall madness for us. We stayed in and relaxed all day, and it just happened to be my birthday! :) For French class, Allie had a project where she had to plan, prepare and serve a French dinner. She had every detail planned out, from canapes to a delicious meal with the table set meticulously and French music to set the mood.

Tres bon!
And... we had Chocolate Mousse... which is an awesome birthday dessert! It was a lovely evening and a great way to end our stay in Charlotte. Thanks Allie! (And the Campbells for having us stay all week!)
They were trick candles too...
And Sean "dressed up" for dinner :)
Finally, this past weekend Sean and I took a quick trip to Owensboro on Friday night to see Ashtin and James. We ate some Cheddars, saw the sights of Owensboro (including a bronze buffalo statue!) and then enjoyed some delicious beer at Gambrinus. I ordered a beer by Chimay that sounded delicious and it was, but just as I was telling the order to the waitress, I saw out of the corner of my eye that the price was $12.50! But it was too late, the damage was done, so I just sat back ready to enjoy it. Now, I don't know if it was really worth $12.50, but it was excellent, and I decided that if I were a beer that's what I'd be. :)

We came back to Louisville on Saturday to celebrate our friend Adam's birthday at Clifton's and then headed to Dark Star for some drinks. On Sunday, Sean and I found our Christmas tree and brought up our decorations from storage. Our house is primed and ready and just waiting to be Christmas-fied. So that's the plan for this week! And that's what we've been up to lately... we'll try and be a little bit more consistent on here in the coming weeks!

Tuesday, November 15, 2011

The Wall is Finished! (for now)

    A while back, I hinted at a project that I was working on in our living room: we had a huge empty wall in our living room/dining room that needed some love. So, after living in this apartment for over a year and growing weary of staring at the giant empty canvas of wall, I decided to hang a collection of our photographs and art on it!
Our Ikea Bounty
    When we went to Ikea, we picked up a few frames and a picture ledge to use on the wall. We weren't sure exactly what we were going to do yet, so we got a small assortment of things: two Verserum frames ($1.99), three Ribba shadow-box frames ($9.99 each), and a Ribba picture ledge ($9.99). These were supplemented with several frames and a mirror that we already had. We used the shadow-boxes to display some artsy CD covers and the frames to showcase some photographs of our travels and our wedding.
    I began the task of hanging everything by laying it all out on the floor of the living room in order to gauge how it would all look. After hours of deliberation, I decided to line everything up on the wall along an invisible bottom line in order to give the decorating a nice clean look. After measuring the space I had to work with on the wall and the sizes of the frames, I had a rough plan for how I would hang everything.

I taped the bottom edge to make sure everything lined up.
    Next, I put masking tape along the wall where the bottom line would be and marked where the edges of each frame would be. Then I hung the frames, starting along the tape line and working my way up the wall. In this way, the pictures remain evenly spaced and have a nice clean bottom edge to them.
    The actual hanging only took about forty minutes, which I thought was not bad. After everything had been hung and leveled, I carefully removed the tape. I still have a few more things I would like to hang: two small picture frames above the octagonal mirror, another frame above the picture ledge, and an artsy concert poster above the shadow box on the right side. All in all though, I am quite satisfied!
I worked left to right, as there is a built in shelf on the right.
The finished product! (for now)
      

Tuesday, November 8, 2011

Update: 12 by 2012!

Last weekend, Sean and I finally found some time to work on things around the house. And that means I get to cross off two items on my list! Saturday, I took a couple of hours to re-organize my closet and I'm so happy with how it turned out. And it wasn't really as bad as I thought. I had just let some things pile up, but now everything has a place. I even made some room for a few extra things laying around our bedroom. And the floor is completely clear now... I told Sean it feels like a mini-dressing room! Here are some pictures of the transformation:

BEFORE:


AHH! Look at all that stuff on the floor!

That luggage was not in a good spot

AFTER:

That's an organizer from Ikea; my overnight bag is behind
it because I'll be using it so much in the coming weeks!


Look! You can see the floor now!

I hid that luggage back in the corner

Up there are travel bags, a bag of bags (purses/clutches)
and a box of winter scarves, hats and gloves

I even re-organized my clothes!

And while all that was happening, here's what Seany was doing upstairs:

Voila! Isn't it pretty?
It's not quite finished yet, but it's looking good! We have about three more frames to add. So I'm crossing those two items off my 12 by 2012 list! As for some of the other items, we've got some ideas going for our Christmas card, I've started organizing some of our wedding photos for the albums, and I'm hoping to keep up with my blogging in the coming weeks. Happy Tuesday everyone!

Wednesday, November 2, 2011

I Love Scarves!

It's starting to get chilly around here, and, for me, that means it's time to break out my scarf collection! I love wearing scarves, and they are probably my favorite accessory. Adding a scarf makes it easy to stretch your wardrobe and add an extra element to any outfit. Over the weekend, I was showing my family a few ways that I tie my scarves and they showed me some of their ideas too! So I decided to make this video to show a couple of different ways to tie a scarf:


So there you have it! What are some of the ways you tie your scarf? I always love learning new ways!

p.s. Surprise! I got a haircut this weekend too!

Tuesday, October 25, 2011

Happy Fall!

Sean and I had another great fall weekend. We had a cozy night in with friends on Friday night (that also involved a bacon lattice). Saturday, Sean reorganized "his kitchen." We moved some things around for a teensy bit more counter space, and moved some things to more practical spaces. Then on Saturday night, we had another fun night out for a birthday celebration where we took over the "house bar" at O'Shea's on Bardstown Road.

Fall foliage by Sean (from the passenger seat in the car)

And finally, on Sunday we had Huber's Farm Part Two: Campbell Sibs Edition. (There are photos of the first trip Sean and I took there last weekend here.) We took a wagon ride to pick some apples, then hit up the store for some pumpkins, and other fall treats to take home with us.

Look at all those fall treats!

Wagon ride to the apple orchard!
We rounded out the day by eating some delicious pizza at Boombozz. Andy, Heather, and Maggie had never been there! And then we came back to our apartment for some doughnuts, apple cider and The Walking Dead.

This week, on the agenda is figuring out our Halloween costumes for the weekend. I also hope to tackle some of the things on my 12 before 2012 list. What's everyone else doing to celebrate fall this year? What's everyone dressing up as for Halloween this year?

Tuesday, October 18, 2011

Winter Is Coming: A Two-for-One Instructional Blog Post for the Autumn!

To begin with, I apologize for not posting in a while, I have been extremely busy. 
SO MANY WEDDINGS AND THINGS! 
I hope to make it up to you internet readers with this autumn double-post of DIY goodness. 

    First Up: Create Your Own Compost System!

Before...

    This fits into our five-senses theme, because it will help us to grow food and flowers throughout the growing season. This simple method is good for any size dwelling, from apartment to mansion, and the finished product (rich nutritious soil) can be used to grow either delicious or beautiful plants (or plants that are both delicious and beautiful).
    You will need a 5-10 gallon plastic bucket. I found mine at a nearby home-improvement store for under $4.00 (including the lid, which is needed). Using either a drill with a medium sized bit or a hammer with a medium sized nail, make numerous holes in the bottom of the bucket. You will want them to be evenly-spaced so as to keep the moisture within the bucket at a uniform level. The bucket should be placed onto something that will let air circulate underneath it. I chose two lovely bricks, but spare pieces of lumber or stone work just as well. As the plant materials within the bucket decompose, there could be seepage of slimy mineral mud. So, I put an old dish drain mat underneath the bricks so as to prevent our deck from soaking up the goo (also, the 'goo' is actually good stuff for plants and should be saved if is drips out and put back into the bucket).


The final product!


    Any plant material from healthy plants, vegetable and fruit scraps, plain paper products (paper-towel, black-and-white newspaper, etc), coffee grounds, egg-shells, or yard waste can be put into the compost bucket. Each time you add green things (wet organic matter) be sure to add brown things (dry organic matter: dead leaves, grass clippings, or paper). Also, make sure to add a sprinkle of water to the mixture each time you add ingredients in order to keep the process going. The matter will not break down if it is dry! You should probably stay away from adding any bones, fatty wastes, meats, or dairy products because they take longer to decompose and also attract racoons, rats, flies, and other creepy-crawlies. Also, avoid using anything that has been treated with chemicals or contains chemicals, like glossy paper, because you will be eating it eventually (in a round-about way). Otherwise, your compost should be ready to spread in a one-inch layer over your topsoil in the garden in three to five months, which would bring you to the spring planting season if you start now like I did!

The first recycled ingredient: coffee grounds including the filter!

Next Up: Carrot-Top Pesto!

    As a first year gardener, I don't have anything planned to grow during the winter months. This means that my garden is winding down for the season, so it's time to make what I have left stretch through the cold winter months. The basil plants were starting to look pretty sad, so I decided to put them mostly out of their misery. I picked off almost all of the leaves that were left  to make pesto! The problem is, as a first year gardener I didn't plant enough basil plants, so every time I go to make pesto with all the available leaves, I don't have enough to make a large batch. To overcome this problem, I decided to add carrot greens in with the basil this time in order to stretch it. I chose carrot greens for two reasons. First, I am becoming a big fan of the bitter-carrot taste of the greens. Second, I still have a bunch left over from last weeks carrot soup! 

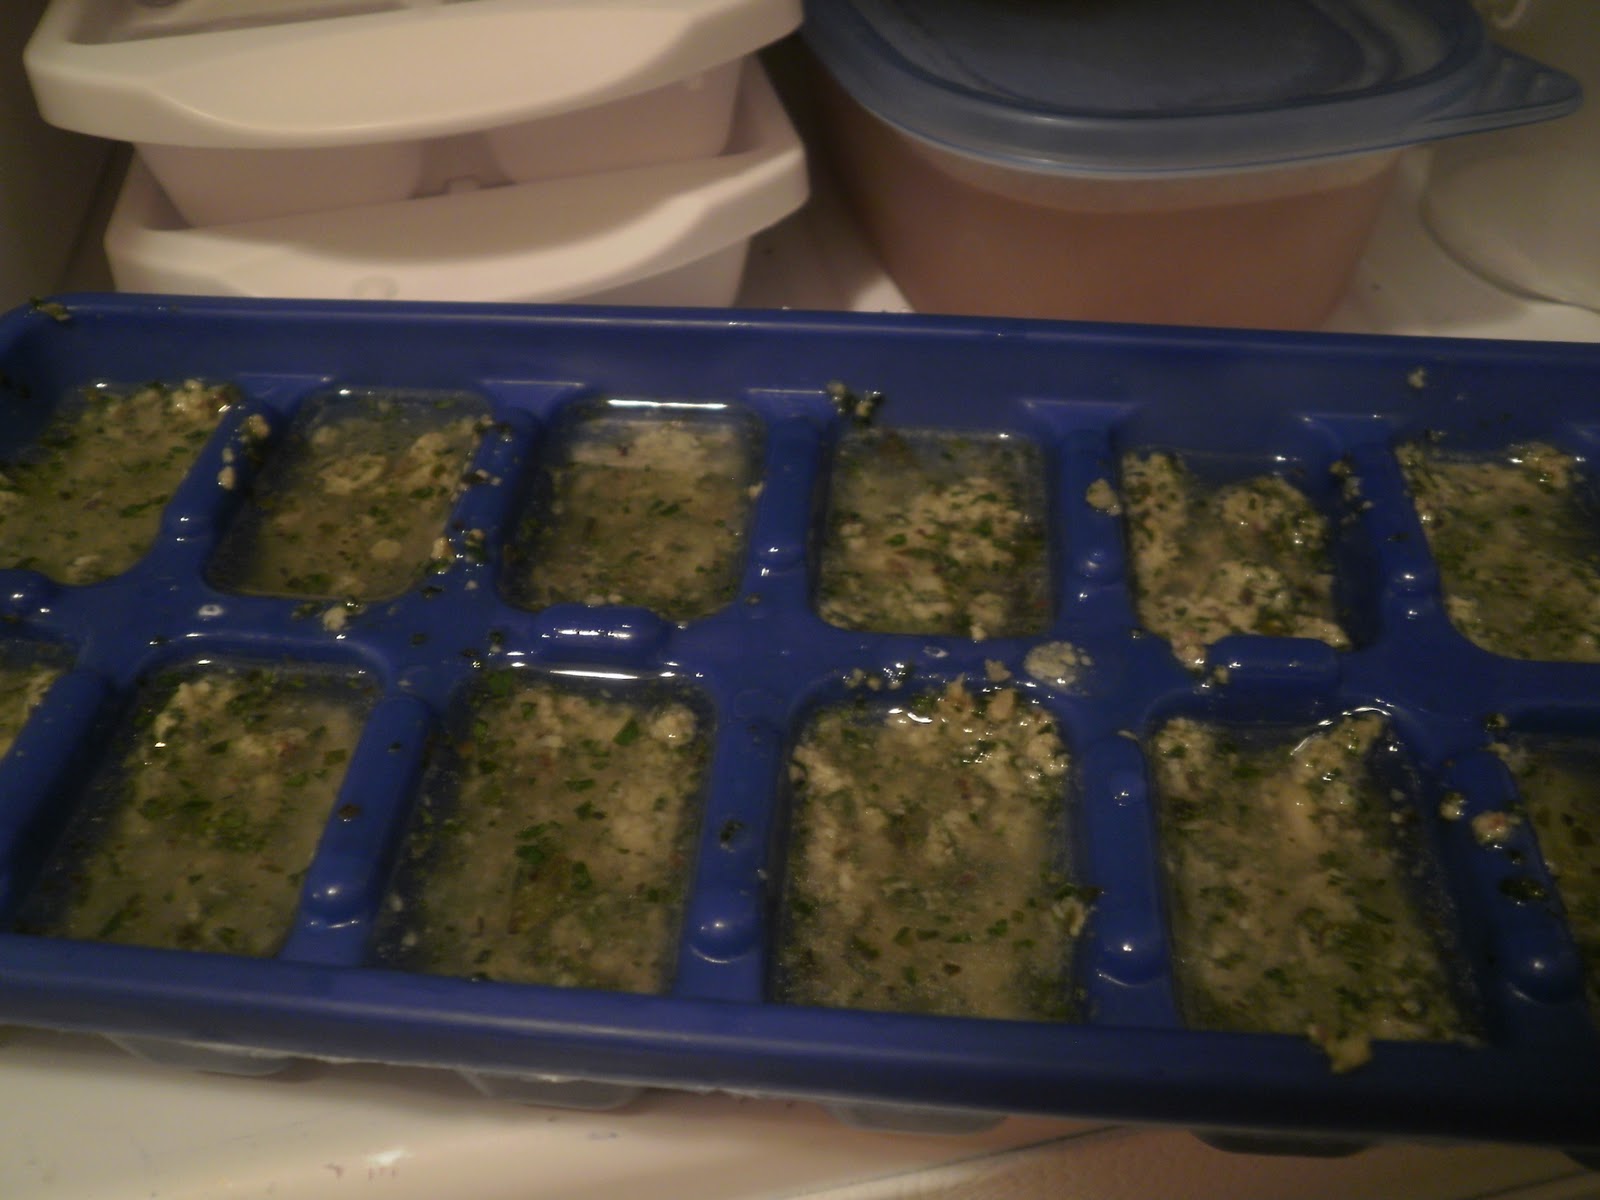
    To begin with, I washed and tore up the basil and greens and ended up with about two cups packed. I put that into the food processor along with four medium garlic cloves, a half-cup of freshly blanched almonds (these are a convenient substitute for pine nuts), a quarter-cup of olive oil, and a cup of freshly-grated Parmesan cheese. I then processed the ingredients, making sure to get rid of any garlic or almond chunks. I promptly added a few dollops to the pasta and kale that I was cooking up. 
     BUT WAIT... THERE'S MORE! The whole point of this post was how to prepare for winter! In order to have home-made pesto throughout the winter months, I needed to freeze the rest of the batch I made. So as to make it easier to thaw out and separate portions out for a few different meals, I divided the remaining pesto up into a clean empty ice-cube tray. I then covered the remaining space in each spot in the tray with a little water. This will help when removing the cubes.  After the cubes freeze, I will remove them from the tray and put them into a freezer bag. Now, every time I want to add some delicious pesto to a meal, all I have to do is grab a few pesto-cubes and add them to the dish while it is cooking!